Growing vegetables is the best and easiest way to become a self-sufficient survivalist. If you can cultivate your own food, you don’t rely on major corporations to provide it. And of all the veggies to grow, there are none as popular as the Tomato.
They grow big, they grow strong, and they grow fast. Not to mention that tomato plants are one of the easiest to care for, making them a common recreational plant. But before you can begin, you need to know how. Here’s everything a prepper would need to know before starting their own tomato garden.
Tomato Care Sheet
- Sun Exposure – Full Sun
- Soil Type – Loamy
- Soil pH – Acidic
- Bloom Time – Summer
- Flower Color – Yellow
Planting Tomatoes
Because tomatoes are a summer plant, they should be planted shortly after the last frost. If you are growing them from seeds instead of sprouts, which will be the case if you’re growing independently, then you will want to start your seeds indoors about two months before the predicted date of last frost. Once the date has arrived and the soil is starting to warm up, plant them outside.
The ideal location will be somewhere that get complete sunlight, while still having well-draining soil. The more sun, the better. But if you live in a more southern location, the midday sun can be harsh, so a spot of shade in the afternoon isn’t bad.
While tomatoes can do just fine sprawling on the ground, it’s recommended to set up wooden supports for them to avoid dirt-bound diseases. If you do, do so before they grow too large, or you could risk damaging the developed roots.
Do not transplant seedlings in one fell swoop, either. If they were cultivated indoors, you should set them outside in soft light a little bit, then more and more as the days increase. This gets the plant used to the new environment.
If you have multiple tomato plants, keep them at least 2 feet apart.
Growing Tomatoes in a Pot
Some folks don’t want to plant the tomatoes in the ground and would prefer pots. Maybe the local soil isn’t good for the plant, maybe they live in an apartment. Whatever the reason, it’s a perfectly acceptable option. Some even grow them indoors.
Make sure that the container you choose is large enough to hold a fully grown tomato plant. Make sure the container also has drainage holes in the bottom. Standard potting soil is acceptable, but some organic matter mixed in is nice, too.
Container plants require more careful watering. Daily watering is often needed, but as long as the soil remains moist. You may need to water it more during the hot days.
Keep the sun levels the same as if planted in the earth. Being in pots, you can move them as needed, at least.
Caring for Tomato Plants
At young ages like seedlings or recently transplanted, water them plentifully. Ensure that the water drains deeply to encourage a deep root system and healthy plants in turn. It’s best to water them in the morning, allowing the moisture to survive the hot days. Avoid watering in the evening or at night.
If they are earth planted, mulching about five weeks after transplanting will help retain moisture and reduce weeds.
One way to help retain water during droughts can be placing flat stones around the plant, this helps prevent water from evaporating.
Fertilize when tomato fruits are about 1 inch in size, doing so every 2 weeks after that.
Harvest Tomato Fruits
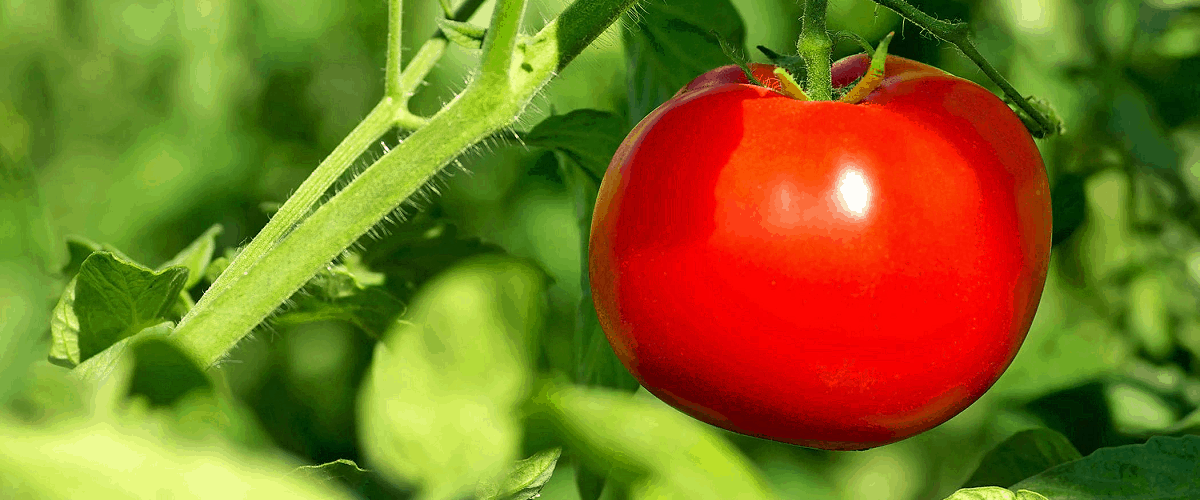
The tomato plant will bloom yellow flowers, which will eventually develop into tomato fruits. You should keep them on the vine as long as possible to ripen. If they fall off the vine before they are ripe, place them stem up in a paper bag stored in a cool, dark place. If you place them in the sun, they might rot before ripening.
Picked tomatoes shouldn’t be refrigerated, it diminishes the flavor and they are perfectly fine in room temperatures.
Saving Tomato Seeds
While not all types of tomatoes can have their seeds harvested for next season, many can be. To begin, remove the seeds from some fresh tomatoes. place them, goop covered, in a jar with some water. Cover the jar and leave for 2 to 5 days, swirling daily. When the seeds, water, and pulp have all naturally separated, they can be removed and cleaned.
Use a spoon to skim out any pulp. Then strain the seeds with a strainer and running water, gently coaxing any water and surface materials off of the seeds. Dry the seeds and place on a non-stick surface. Leave them out of direct sunlight for the next 2 to 3 weeks to dry out completely. Once dry, store in a paper envelope. These seeds will be good for up to 5 years.
You could also buy seeds and seedlings online or from local stores, but that wouldn’t much help in a SHTF scenario.