In our continued effort to become a completely self sufficient bread maker, we’ve reached the final step: making the flour. But in the entire process, this might just be the easiest.
Previously, we mused about how to TRULY make bread from scratch. We determined that you need three things: flour, water, and yeast. You can get yeast from a sourdough starter that you maintain, you can collect water from rainfall or from local sources, and you can grow your own wheat. But we still need to grind that wheat into flour.
What You Need
- Grain Berries
- Coffee Grinder
It makes sense, right? When people think of grinding flour, they imagine those giant stones in windmills that people in the 1500s use to use. But this is modern day, we can afford the luxury of electricity, even in a homestead. So a coffee grinder will do fine. Its made for grinding beans into powder, after all.
How to Grind Wheat Into Flour
Step 1: Add Wheat Berries into a Coffee Grinder
If you need wheat berries, and arent sure what they are, consult of wheat growing article. Be sure to only add as much as the model of grinder you’re using recommends.
Step 2: Grind the Coffee in Phases
Activate the grinder for about 10 seconds. Stop, examine, shift around the grain, and run for another 10 seconds. Do this for a total of 60 seconds (do it six times). Pour out the result.
At this point, you’ll have a combination of powder and small grain pieces. A grinder won’t get much finer than this, generally. Some folks say you can stop here, If it’s fine by you, jump to step 4. If you want a fine powder all around, continue to step 3.
Step 3: Sift the Powder and Repeat
To ensure a finer flour without any bigger pieces, take the ground up pile you made and sift it through a mesh strainer until all powder falls through. You can then toss the larger pieces back in the grinder, adding more to bring back to “full”. Repeat this and step 2 until you have either all the flour you need or you run out of wheat.
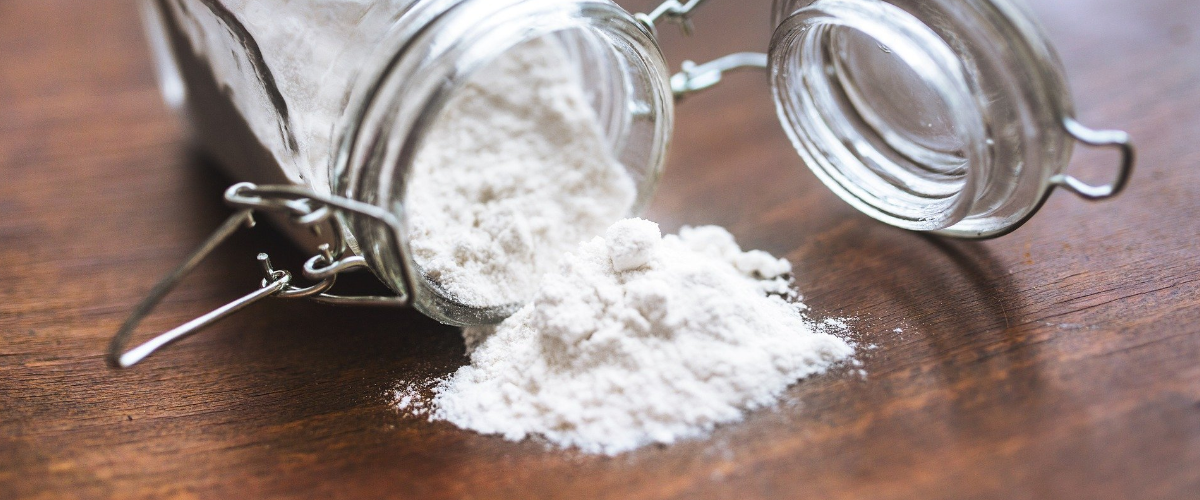
Step 4: Store Flour
That’s it! You’re done! Now you can either use the flour or store it away for future use. Keep the flour in a sealed container or jar to ensure it stays dry. You could also keep it in a closed paper bag, similar to store flour, if you want.
Some Things to Consider
Home made flour is not going to be the same as store bought. There are a few things you’ll want to keep in mind to ensure that your expectations stay met.
- It Looks Different: The whole grain flour you made will not be pure white, but a more light brown color. Store bought flour is often bleached (safely) for color.
- It Feels Different: Even with sifting, your flour will not be as fine of a powder as something from the store. It will be rougher, more coarse. Try to not let this discourage you or believe something is wrong, it’ll still work.
- It Bakes Different: home made flour has a different combination of vitamins and minerals, often quite a bit more than store flour. With more “food” for yeast to act on, this means it can have a stronger reaction when baking. This means you can’t exactly trust ratios from online bread recipes and some experimentation might be needed to find the right ratios. You can combine the home flour with store flour to enhance flavor without throwing off recipe ratios, if you want.
Did you follow this whole process and made bread from nothing? We’d love to hear about it in the comments.