Bread is one of the most basic food items in the baking world. And any home chef should know how to bake some. But what if you want to be a self-sufficient chef? Then you need to grow your own wheat.
Bread, at it’s simplest, is flour and water. Water is easy. You can collect it from rain, or gather it from local sources. But what about flour. Well, flour is simply grain, ground up into a powder. And the most popular grain is wheat. So to REALLY do it all yourself, you need to grow your own wheat.
We’re serious. The idea of growing your own wheat to make bread may sound unrealistic, but it’s more effective, and less space consuming, than you might think. Even a modest plot of land can produce enough grain to provide for a decent amount of flour.
How to Grow Your Own Wheat
Step 1: Plant the Seeds
Often referred to as berries, wheat seeds are both the seeds planted for growing and the material to be ground up into flour. When spring begins, plant around 25 seeds per square foot in your dedicated garden space. Use fertile, moist soil. Water the soil thoroughly before planting to help ensure germination.
Plant each seed about one inch into the dirt. And wait for germination. Once they spring up, keep the seedlings happy by keeping the soil moist and the garden free of weeds.
Step 2: Wait for Wheat Heads to Harvest
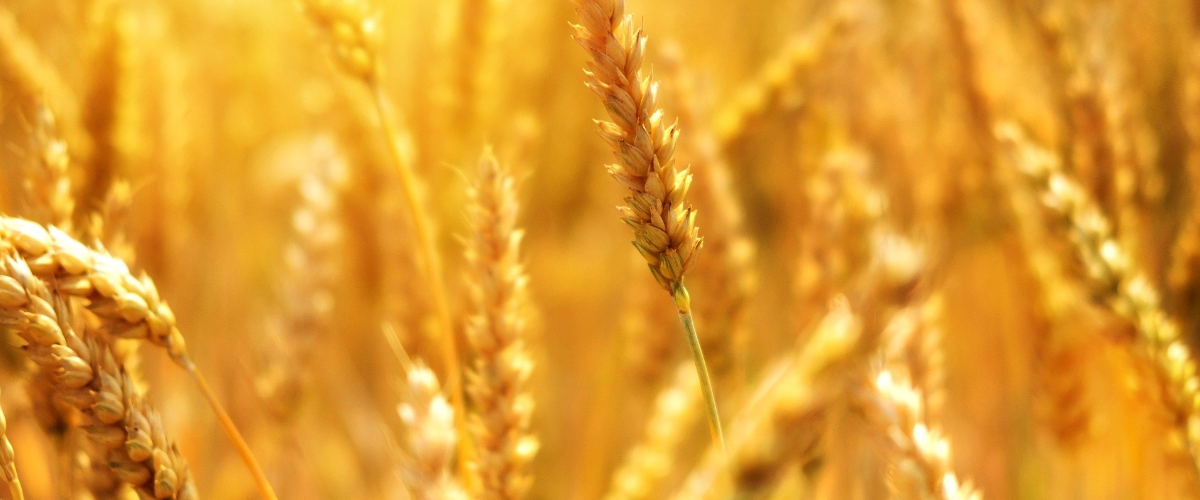
Over time, the wheat plants will grow taller and fuller. Eventually it will produce wheat heads. You’ll likely recognize them, since they’re often depicted in this stage in media. See the header image for a visual example of how they look. They should be golden brown, with no green. They should also be drooping slightly, not standing upright fully.
You will know when they are ready for harvest by picking one of the seeds/berries from the stalk and chewing on it. If it’s chewy and soft, then they need more time. If they’re dry, hard, and crunchy, then they’re ready.
Step 3: Harvest and Dry your Wheat Berries
Now that the wheat is ready, it’s time to harvest. Cut the plants, bundle them together, and hang them upside down in an area with plenty of airflow and out of rain. Leave it here to finish drying out completely. Be wary of animals looking to eat the grain if you keep it outside.
Step 4: Thresh the Wheat
This refers to the process of separating the wheat from the chaff. Hand picking the wheat berries takes too much time, so more.. Aggressive, methods are often used. One common practice is to placed the dried wheat into a linen sack, and beat the hell out of it. Bang it against the wall a bunch, stuff like that. This will loosen everything inside. Some folks lay a cloth down and stomp on the grain. Whatever you prefer, really.
Once nice and abused, place the grain mix onto a large plate, platter, cloth, or any big surface. It’s time to remove the actual chaff. This material is the protective coating around wheat berries. They are very lightweight, so most methods involve blowing it away. You can do this by tossing the wheat in the air while outside. Other methods include shifting a pile of grain around while a standing fan or box fan blows directly onto the pile.
Step 5: Store the Wheat
Wheat grain should be stored in a sealed container. Keeping moisture out is important. If you’re concerned about insects in your grain, you can lightly cook or dehydrate the berries. Baking in the oven at 130F for half an hour should work, or a dehydrator at the same setting. This will ensure that any bugs that might be hiding in there will be dead and will not consume the grain.
This has gone on for a while now, so we’re going to save how to grind the grain into flour for another time. But once you do that, you can start making your own bread from grain that you grew. You can’t get more self-sufficient than that, especially if you use your own sourdough starter to bake it.