Canning is, for all intents and purposes, a way to preserve foods for long periods of time. My grandmother cans fruits and vegetables each year, and these goods manage to last not months, but years. In other words, it’s the perfect method for food prepping.
There are two popularized canning methods:
- Water Bath
- Pressure Canning
But, because the water bath canning method is quite popular, we’re going to focus on that particular canning technique.
So, What Are the Benefits to Canning?
Well, there are a variety of reasons why you should can, outside of preserving food for a few years. Canning:
1. Saves you a ton of money.
Canning doesn’t allow your food to go to waste. Between the costs of vegetable/fruit seeds and reusable jars, you’ll save more from canning than from purchasing grown produce at the grocery store.
2. Is good for the environment.
Canning allows you to take advantage of reusable jars. And, again, you’re not wasting the food produced by your garden.
3. Doesn’t include BPA or other additives.
When you’re canning, you’re using natural ingredients to can.
What Do I Need to Can with?
- Canning jars and lids
- A pressure canner
- Canning tongs
- Wide-mouth funnel
- Lid Wand
- Ladle
- A hefty, large pot for boiling
- Rubber spatula
- Canning rack
How to Can, Step-by-Step
Well, now we’re getting into the filling of the topic: how in the world do you actually can? Well, right we’re here to provide you with a step-by-step, easy-to-follow guide. As mentioned initially, we’re going to focus on the water bath canning process for this article. When you’re ready and prepped, read on:
Step 1. Hunt for a recipe related to what you want to can. One reliable source that we recommend for safe canning recipes is the Ball website. You’ll find canning recipes for the following categories:
- Beverages
- Butters
- Dressings, Marinades & Dips
- Fruits
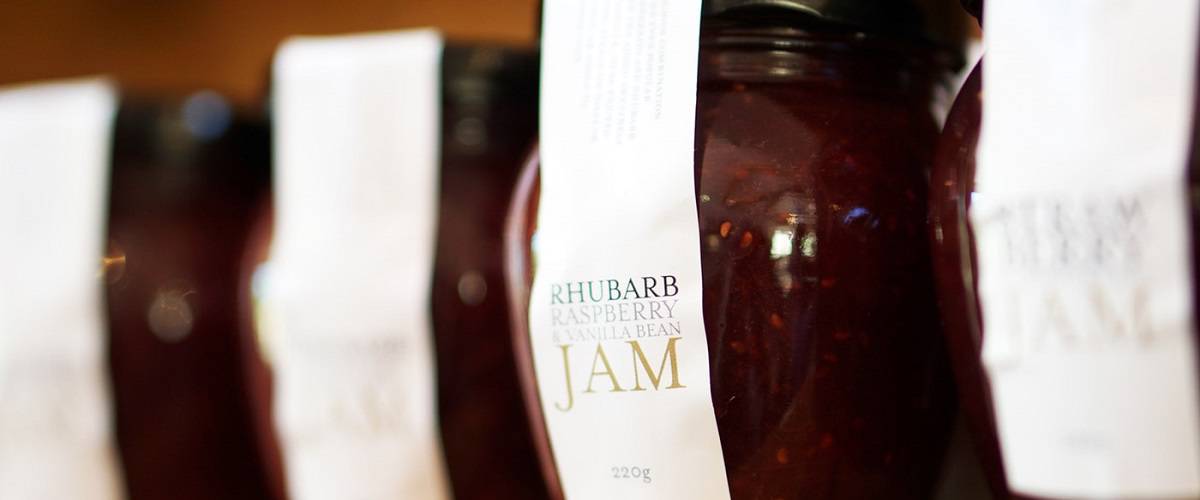
- Jams
- Jelly
- Low or No Sugar
- Marmalades
- Meat & Seafood
- No Cook
- Other
- Pickles & Relishes
- Salsas & Chutneys
- Sauces
- Soups
- Vegetables
There is even a pectin calculator, in case you need to do a little math.
Step 2. Ensure that everything you need is there. It’s best to have all the tools and ingredients for your recipe available before you find yourself struggling during the canning process. After you are 100 percent certain that you have everything, place the number of jars you’d like onto a rack.
Additionally, confirm that the jars are 100 percent free of cracks, nicks, or uneven rims. Furthermore, the underside of lids shouldn’t be uneven or have scratches. Even the slightest damage will lead to unsafe conditions for your canned food. When all is clear, wash all the jars in hot, soapy water and dry.
Step 3. Fill the canner half-full with water. As the canner comes to a boil, prepare your canned good per recipe’s instruction.
Step 4. Place your canning jars into the hot water (180F), which should prevent them from cracking and breaking when filled with hot food. However, make sure the bands and lids are removed and at room temperature.
Step 5. Prepare your recipe.
Step 6. Remove the pre-heated jar with the canning tongs. From there, fill each jar, one at a time, with your product using the wide-mouth funnel. Don’t fill the jar up to the brim (refer to recipe to see how much room you need to leave between the food and the jar rim)!
Step 7. Remove the air bubbles by sliding the rubber spatula between the jar and the food. Make sure all air bubbles are removed before sealing.
Step 8. Wipe down the rim of the jar using a damp, clean cloth.
Step 9. Place and center the lid onto the jar; make sure the sealing compound lines up with the rim. Apply and twist the band until it’s tight. Repeat for the other jars.
Step 10. Place jars into the canner – ensure that 1 to 2 inches of the jar is covered by water.
Step 11. Place the lid on the canner and then bring the water to a boil. From there, you begin timing the processing of your product, which you can find in the preserving recipe.
Step 12. Once time is up, shut off the heat and remove the lid of the canner. Let the jars sit in the canner for five minutes.
Step 13. Move the jars from the canner with the canning tongs and set them upright on a towel. Do not touch the jars for 12 to 24 hours.
Step 14. Finally, inspect the lids for seals. You need to ensure that:
- The lids’ centers do not flex when pressed
- Lids remain attached
If the jar doesn’t seal, then immediately place the jar into the fridge and use it. Otherwise, clean the jars and lids and store them in a cool, dry, dark place.
If successful, the jars will keep up to 18 months.
Finishing Up
And there you have it! While canning is, in the end, a fairly simple process, you need to be accurate and careful so that you’ll ensure perfect sealing. However, don’t worry if you’re not successful the first time – if anything, practice with a single jar to learn the technique so that your product doesn’t go to waste.