Whether it’s housemates or burglars, you sometimes need somewhere discreet to store things. But you can’t pillage what you can’t find. Here’s how to make your own hidden book compartment.
Secret stashes disguised as an age-old classic method of hiding things. And that fame is for good reason. Your standard person won’t think to go searching through every book on a shelf for the off-chance of it containing anything. And since they’re easy to make, you can convert any old book you have. Here’s how.
Choose a Book
This involved removing part of most pages and gluing the rest, so you’ll be destroying the book that you choose. Don’t pick a book you like or will want to read or reference in the future. At the same time, make sure you book fits in both physically and stylistically with the rest of your books or items on your bookshelf.
Get a Glue
There are a few different types of glue one could use for this process. You don’t need a terribly strong one and it should ideally be one that can be absorbed. I’ve seen folks recommend puzzle glue (the glue used to keep puzzles held together once completed) but I’m more partial to a 50/50 mixture of water and school glue. It’s super affordable and the watered-down state makes it easy for the pages to absorb.
Separate a Front and Back Buffer
You will want to separate a small stack of pages at the front and ends of the book. “Why” will be explained later. We recommend using a sheet of paper to “bookmark” the areas.
Glue the Outsides
The first thing you need to do is apply a coat of glue to the outer edges of the pages while the book is closed. This will ensure that the book keeps it’s natural form while the insides are being worked on. Using a paintbrush, apply a fair coat of glue to the page edges and allow to dry. You don’t have to glue the buffer areas we marked earlier. But if you want to, just be sure not to glue them to the rest of the pages.
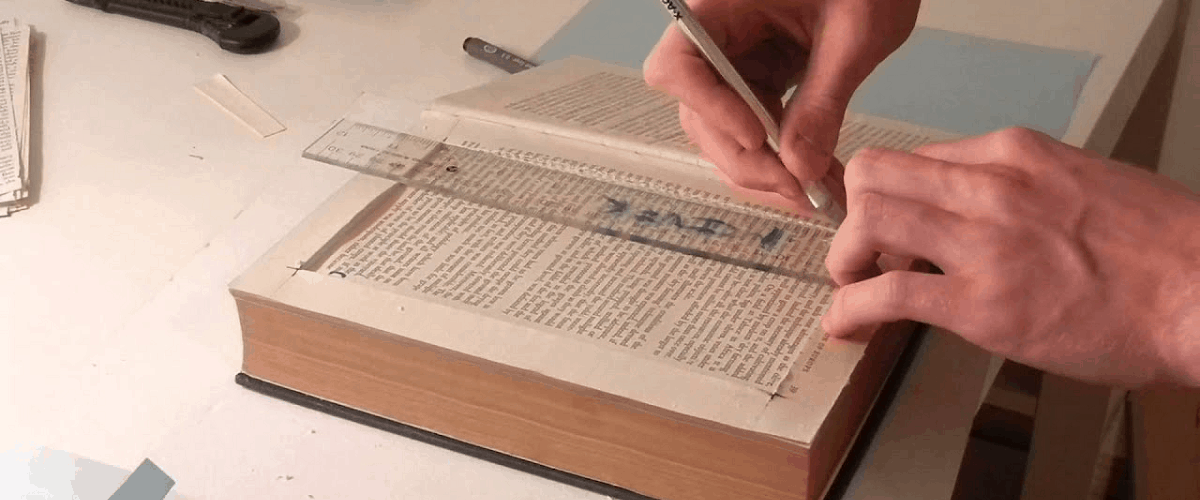
Cut Out the Core
In the core pages, the ones between the front and back buffers, You will want to cut out the compartment that will store things. I recommend leaving about an inch or two of space between the sides of the pages when choosing how large a hole to make. Using a box cutter or Exacto knife, cut through the core until a nice large compartment has been made. Do not cut the buffer pages.
Glue the Insides
At this point, you no longer need to separate the back buffer. Apply a coat of glue over the edges of the compartment, this will help keep the inner page edges from flaring or tearing.
Also apply a coat of paint on the inner surface page of the back bugger and on the back of the core. This will glue the two together, forming a solid and secure back to the compartment.
You’re Done!
That’s it! Once everything is dry, you’ll have a hidden space that you can store small objects like cash, keys, codes, or gold. I’ve seen some folks add more to their books, like an inner lining or a small magnet attachment to keep the book closed. While these aren’t needed, they can add an extra touch of quality to your work.
If you’re feeling particularly ambitious, you can even combine multiple books together into a larger storage container. But be careful, folks are more likely to notice when three books are connected.
Whatever you’re hiding, it’ll be completely safe on one of these.